How to set up PlayStation VR
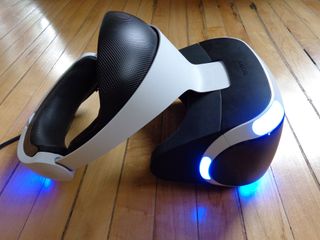
So you've picked up a shiny new PlayStation VR. Before you can put the headset on, and jump into your favorite game, you'll need to get everything set up. While Sony does include a fairly conclusive set of instructions in the box, there are some tips and tricks to ensure that your setup process is as simple and easy as possible.
Step by step instructions to set up PSVR
Once you've figured out where you want to play, and you've got your television and console properly hooked up, it's time to get started. If you picked up a bundle, then everything ought to be in the box, and there are instructions on what to do. Of course, you could just follow our step-by-step instructions to make sure that everything is properly hooked up.
- Power off your PlayStation 4 completely. Don't leave it in rest mode.
- Take the HDMI out of the back of the PlayStation 4 and put it into the HDMI TV port on the Playstation VR processor unit.
- Make sure to connect your PlayStation Camera to the Aux port on the back of the console.
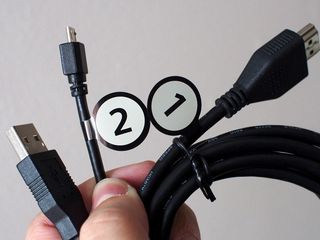
- Take the HDMI cable labeled number 1 and plug this into the HDMI PS4 port on the processor unit and the HDMI output on the PS4.
- Grab the USB Cable labeled number 2 and plug into one of the USB ports on the PS4 while connecting the other end to the processor unit.
- Connect the power adapter to the processor unit.
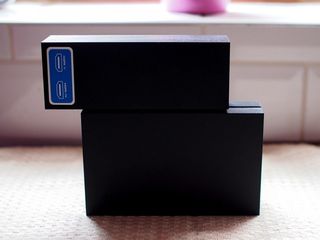
- Slide back the cover on the processor unit and plug in the VR headset cable labeled number 4.
- The connectors will only go in their correct ports, but to make it easier they're labeled with the logos from the DualShock controller buttons.
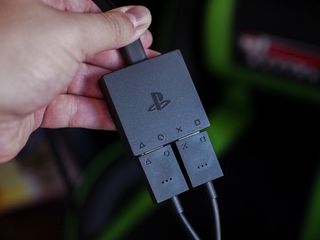
- Plug the PlayStation VR headset into the cable attached in steps 7 and 8.
- Again, match up the symbols for ease.
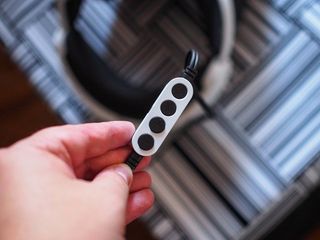
- Plug either the supplied earbuds or your own headphones into the inline remote.
- Power everything on!
At first power up you'll be taken through some basic setup steps inside the headset and you'll almost certainly have a software update to apply. Your console should be up to date so long as you accept updates when they're available, but the headset will need one out of the box. You'll be prompted on what to do, so just follow what you see on screen!
PlayStation VR set up tips
So far we've covered the basics on how to get set up. But here are a few tips and tricks you won't find in the official guides that should help you get a leg up on the whole process.
Set aside a play space
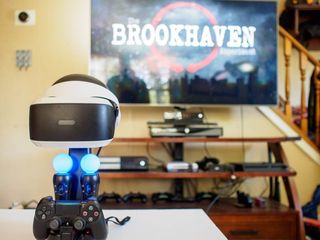
Before you think about plugging anything in you need to make sure you've got enough space to move around freely. PSVR doesn't require the open space something like the HTC Vive does, but you also don't want to be pinned up against the TV or a desk. Most titles will make sure you're correctly positioned in front of the camera before you dive in, too, but try to make sure you have the camera at around head height if you're sitting down.
In most cases, you'll need about 6 feet of room in order to get proper tracking from the PlayStation camera. This means you need enough space to back up, move forward, or shift from side to side without running into anything. Getting the most out of your playspace can sound difficult, but if you take the time to set aside the room to play you'll win in the long run.
Be an expert in 5 minutes
Get the latest news from Android Central, your trusted companion in the world of Android
Other tips
- Make sure you don't point the PlayStation Camera at a light source, LED monitor, or a window. Both could interfere with tracking the lights on the headset, which in turn will have an effect on your experience. The darker your playspace, the better your tracking is going to be.
- There are a lot of cables with PSVR. There's no easy way to suggest keeping them all in control, but since the headset cable is going to be on the left-hand side of your head, if you can, have the processor unit to your left, too. This way you're not wrapping yourself in the cord.
- Charge all the things! It sounds obvious, but make sure you've charged your Move controllers and your DualShock 4 before you go inside PSVR. Nothing sucks more than taking off the headset to charge a controller!
Above all, make sure you're comfortable before you get underway. VR is a completely new experience compared to anything else you've experienced on your PlayStation before and it might take some getting used to.

MCR anti-fog wipes ($11 at Amazon)
Wipes are the simplest way to make sure your lenses stay clean and fog free. They come individually wrapped and free from contamination.

PlayStation Store gift card (From $10 at Amazon)
Easy cash for the PlayStation Store
Grabbing a PlayStation Store gift card is the easiest way to stock up on anything you might want to buy. It's great for the kids too.
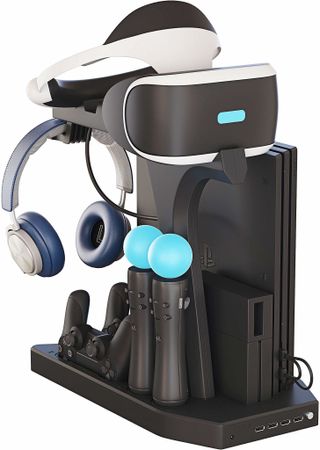
Skywin PSVR Charging Display Stand ($40 at Amazon)
This vertical stand comes with a slot to hold just about every PlayStation accessory you can think of, including your PlayStation VR

